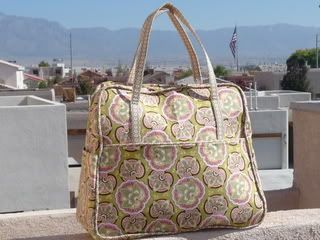
Remember that adorable bag I've been so excited about? Well, I finished it. It was indeed a lot of work, but not as much as I had read about on other blogs.
It's a very big, very stiff bag. It uses tons of stabilizer. When I was making bags for my business, I used Craft Fuse, but this is about 100 times stiffer than that. This makes it quite hard to work with, especially if you don't have a heavy duty machine. I used Pellon Peltex 72F, which turned out to be double-sided fusible. I didn't really know this, and she wanted sew-in, but it should have been about the same weight.
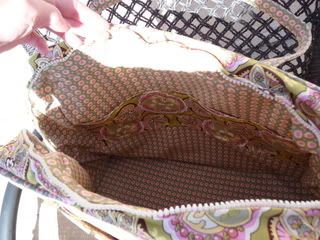
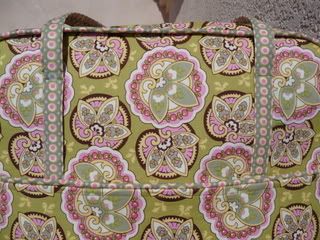
I think the reason the sew-in is best is because she recommends sewing it on the piece and then trimming the stabilizer so that it's not really in the seam allowances. As you can see on my bag, there are edges that are not very smooth. This is because that super-stiff stuff is in the seam allowances and won't lay flat, especially on the top of the bag. It also would have made sewing the bag much easier if I'd done it this way. Instead, I just fused my stabilizer on and didn't trim it out of the seam allowances.
The supplies for this bag were pretty pricey. The stabilizer is pretty expensive, and between the stabilizer, interfacing, lining and outer fabric, you need a lot of yards. Also, I found it annoying that the pattern didn't even include all the pieces. For the bottom, false bottom and straps, you are just given dimensions and have to make your own. The pattern itself costs more than most other patterns and only offers a pattern for one item, compared to three or four on many patterns. Seems like the least they could do is give you all the pieces.
All in all, I love this bag! It will be perfect as a carry-on for my next trip. It took several hours of cutting, then I worked on the piping one day before work and then a couple of days of sewing on my days off. The lining has to be hand sewn into the bag, so that took a little time, too. I would do it again, but with the suggestions above for smoother seams.

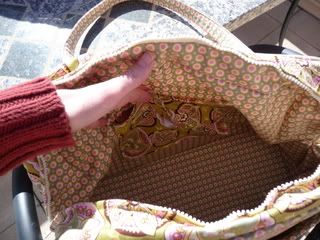
I also added interior pockets -- one flap pocket with velcro closure and one divided pocket for cell phone, iPod, pens, etc. The more pockets, the better, in my opinion!