As some of you know, I do a
blog for
Warehouse Fabrics Inc.
One of the things I do is provide tutorials for different projects, some of which require a pattern for download. At first, I had a heck of a time figuring out how to scan in a pattern and make a PDF file out of it that prints to scale. I needed the pieces to be printable on regular computer paper, and taped together if need be to form the full-size pattern piece. But, try as I might, it always shrank the pattern from scale.
My smart dad, T-shirt Face, informed me that one problem was that I was drawing the pattern pieces all the way to the paper edge, and that it won't ever work that way because you can't print to the paper edge, so you need a border. Because of that, it was shrinking my pattern to fit within a page with borders.
Here is how I finally figured out how to do it (with help from a tutorial on BurdaFashion's site, but many of you may not have access to that, and I had a terrible time finding it).
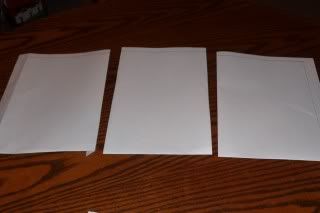
1. Take a piece of computer printer paper and make a square border around it measuring 6-5/8 x 10-1/32 inches. I drew mine on with a ruler, but if you're nice and computer literate, you can probably do this on the computer. Make a bunch of copies of this page (I have a four-in-one printer, so I can do this at home). To give you an example, the apron I'm doing in this post took 15 sheets of paper.

2. The next step is to tape together one giant piece of paper from all of these little ones. The pain in the butt part is that, for now, we don't want to deal with those borders. So fold the pages in on those lines. This will provide a continuous drawing area.
NOTE: You should have already created your pattern pieces on other paper. Now you're just redrawing them for the purpose of scanning them in and making a downloadable PDF for the Internet.
3. Turn over and tape from the underside.
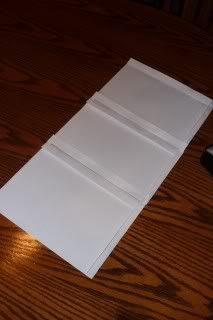
4. Continue in this manner until you have a big piece.
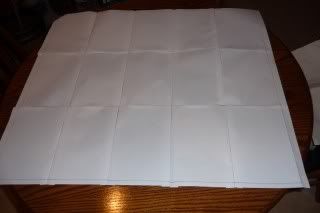
5. Lay out your pattern pieces and see if you can make them fit. If, as in my example, there is just one small area that needs an extension, just add a piece there. It doesn't all have to be a huge square.

I'll add another on the bottom right where that apron tie is sticking off the page.
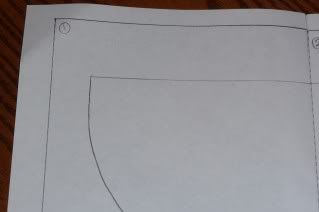
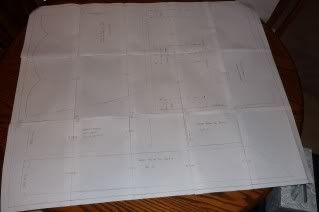
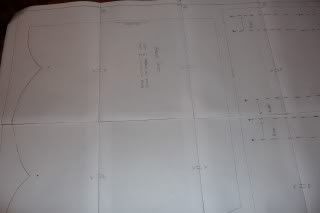
6. Trace all of your pattern pieces on. For square items, it's sometimes easier to just get a ruler and redraw than it is to trace with a nice line. Whatever is easiest. You'll definitely gain an appreciation for having pattern pieces cut on the fold. It makes them much smaller.
7. Label your pieces well. I start with the top left sheet of paper and go row by row labeling each sheet by number (above). I label each pattern piece with the name of the piece and how many to cut. But since most pieces will continue over several taped-together sheets of paper, you
must mark where they join. I do this by drawing two lines across the paper joins and labeling each side with a letter. That way the person putting it together knows where to join the papers. If you have "half" pieces that are cut on the fold, be sure to make this clear.
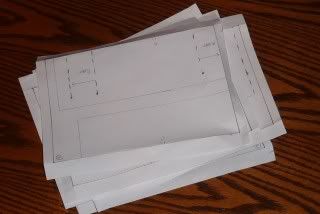
8. Carefully take apart your pages. I recommend pressing them with a dry iron to smooth them a bit. (This pic is before ironing.)
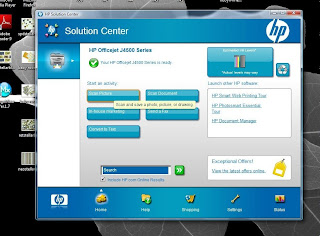
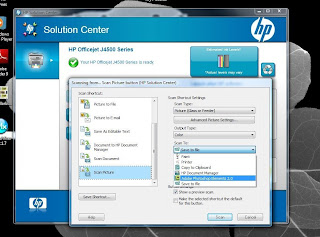
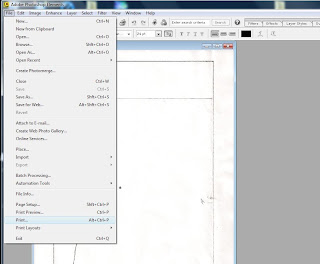
9. Now it's time to scan them in. I have a scanner that doesn't work well with Windows Vista, so I can't just put the paper in and hit "scan." I have to open the printer's program and click scan there, as shown below.
NOTE: Click the following screen captures to get bigger images
10. Next, I get this box. I choose "save to file" and select "Photoshop Elements." I don't have real Photoshop, but this does the job.
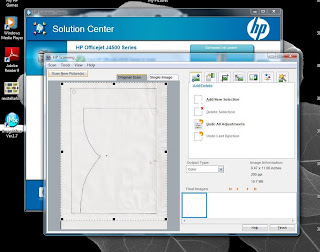
11. After my piece scans, I get this box. It will give me dotted lines that I can adjust. It usually tries to frame the border I drew on the page, but I want it to be as close to 8-1/2 x 11 as possible, so I move the lines out. You can see the measurement of the page at the right. Then I click "finish."
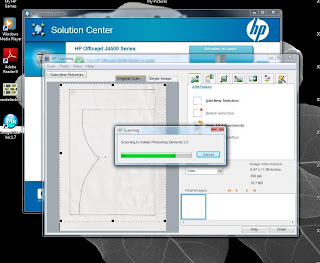
12. After I click "finish," I get this screen telling me it's scanning to Photoshop Elements.
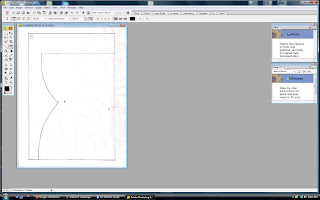
13. Now Photoshop opens and there's my scan. Now I'm going to save it as a PDF. I'll do this by clicking "file," "print."
14. If you get this error message that says "This image is larger than the paper's printable size," don't worry. Just ignore it. DO NOT click "scale to fit media."

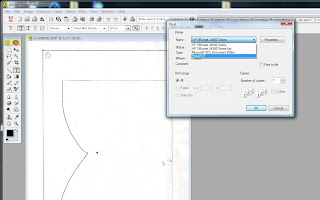
15. Choose your printer as Primo PDF. I guess I should back up here. If you don't have a PDF program, you can download this free one
here.
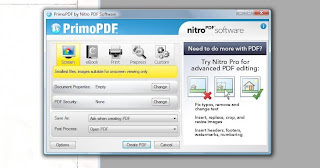
16. This screen pops up, and I just click "Create PDF" without changing any settings.
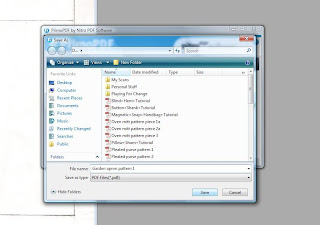
17. It'll bring up a save box, and you should rename it because it will give some unwieldy name for your file, and you'll probably never find it again.
And that's all there is to it! Just repeat these steps for each page. I recommend that on one page you do a 1-inch scale so that people can check to be sure it printed at the correct size.
TIP: Usually after it scans the page, it asks if I'd like to scan another (BTW, I'm scanning as photo, not a document). I click no because I want to see the process through for each one and not scan them all and then try to go back and reopen each and finish the process.