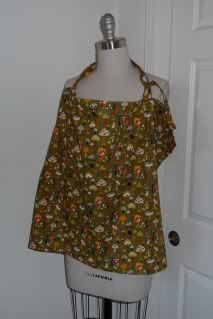
This is easily the most simple thing you'll ever sew. Even if you don't know how to sew, if you can get your hands on a machine, you can do this.
I have a similar nursing cover that costs $32 and is sewn sloppily. This will cost you a couple of dollars. And, uh, I must say that mine is done much more nicely.
You'll need:
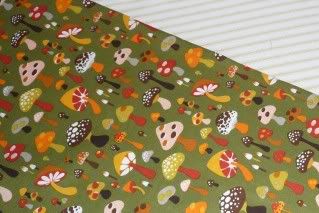
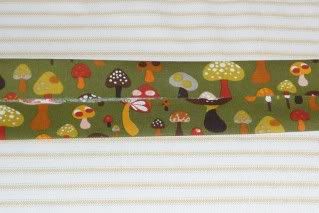
1 yard of fabric
15" long piece of boning
two D-rings
I usually prefer things lined, but in this case, I wanted something lightweight. That's because my poor baby can get awfully sweaty and warm under a cover. I want this to be lightweight and breathable.
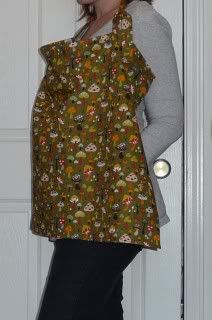
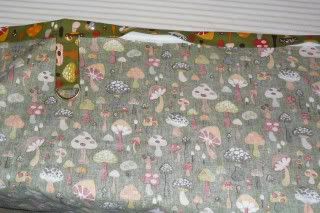
This cover utilizes boning to keep the top popped away from your chest slightly. This is a major help in allowing you to see and position baby. I'm making this one to use while pumping at work.
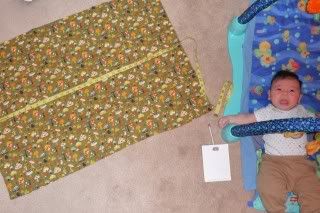
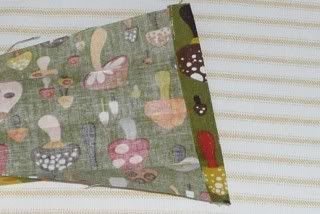
First, you need a 25"x35" rectangle. It is wider than it is tall, so if your fabric is directional, like mine, then keep that in mind.
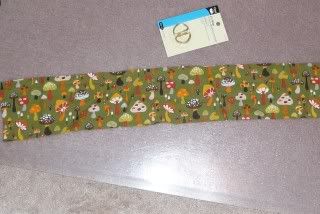
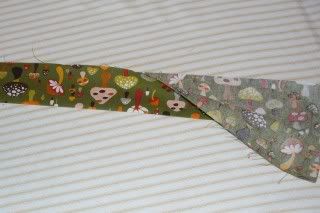
You also need two pieces for the straps, along with two D-rings for the buckle. The strap pieces measure 4"x25" and 4"x7".
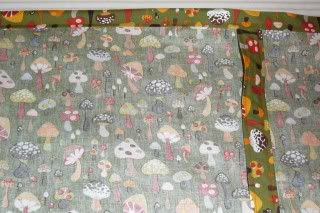
Finish the sides of your cover by folding over 1/4" and pressing. Then fold over another 1/4" and sew.
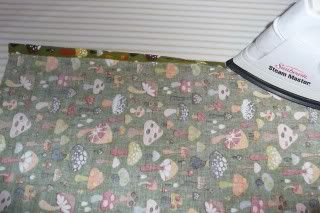
Finish the bottom by doing the same, but with 1/2" folds.
Make the straps. On the long strap, fold over one edge about 1/4" and press.
Then fold the whole strap in half lengthwise and press.
Open it up and press each raw edge toward the middle, all the way down.
Now, fold it back in half where you first pressed it. Your raw edges are encased.
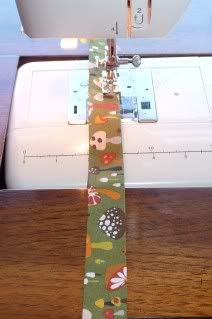
Sew along the open edge.
Then top stitch on the other edge, for prettiness.
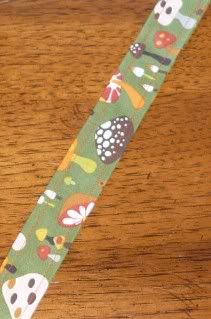
Make the other strap (the short one) in the same manner, except don't worry about folding over one short end (the first step).
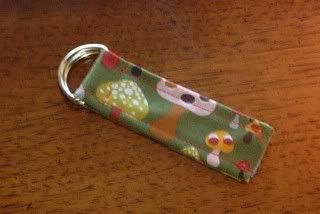
After sewing, thread the strap through the D-rings and place raw ends together. Sew close to D-rings to secure them.
Start making your casing for the boning at the top by folding over a large hem of about 1", then another 1". Press.
Measure 7" from either edge of the cover and mark. This is your strap placement. Stick the raw edge of each strap under the folded hem so that the straps are on the wrong side of the fabric, pointing down.
Insert the boning in the casing between the straps. Pin and then sew all the way across. Make sure the boning curves such that the nursing cover will push away from your chest.
After sewing across, turn your straps upward and sew close to the edge to secure them in that position.
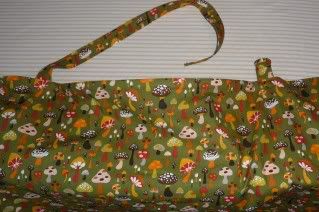
Then thread long strap through buckle. You're finished!