Apparently all those super-tall supermodels have the fashion industry convinced that the average height of women is 6 feet tall. I am 5'4", and a few inches taller with heels. So why do pants look like this when I buy them? Seriously. Just answer me that. I know, the answer is that some women are 6 feet tall. But not that many, right? So is the fashion industry in cahoots with some seamstress union or something?
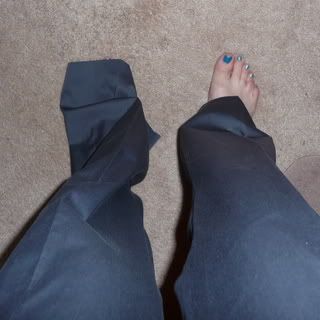
Never fear, you can hem them yourself. It's quite easy. Here is how you hem a pair of slacks with a blind hem, which is a hem that is invisible from the outside.
First, turn your pants inside out and examine the hem they came with. Write down the distance from hem to edge inside. You may or may not use this later, depending on a few things, but it's best to get in the habit.
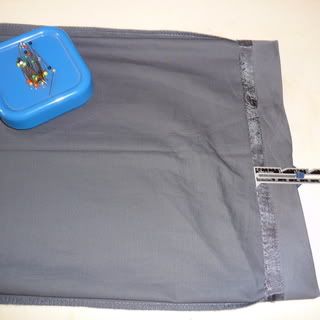
Next, try on your pants and make a rough pinning for length. It's hard to do on yourself, so do the best you can. I just put a few pins.
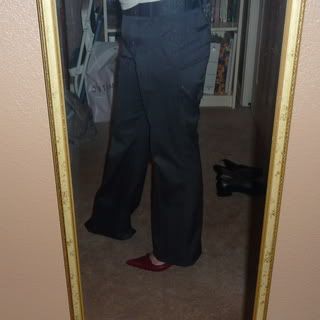
Take off the pants and turn them inside out (watch out for the pins). Measure the length that you turned up and get it even all the way around. NOTE: According to my alterations book, it's best to have the hem a quarter-inch longer in the back, so you may want to do this. That's what I did here. DAMN! Five inches!
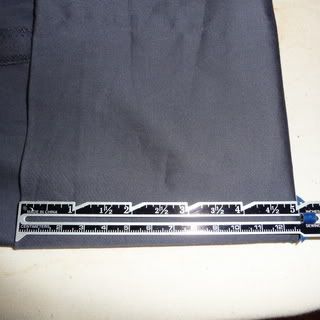
Pin all the way around to really hold them in place. If you turned up a huge cuff, you may want to put extra pins so it doesn't flop down. Do the other leg, too. DO NOT PRESS AT THIS POINT. YOU MAY WANT TO ADJUST THE HEM.
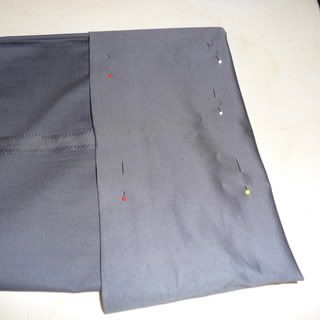
Try the pants on (careful of the pins) and make sure you like the length with whatever shoes you are planning to wear them with. I wanted these pants to be a little shorter so I could wear them with lower heels or flats. I tried them on with both.
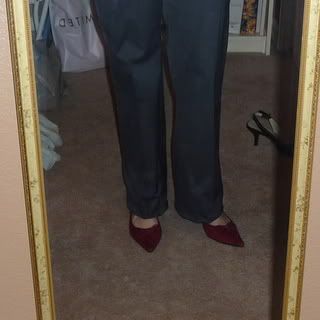
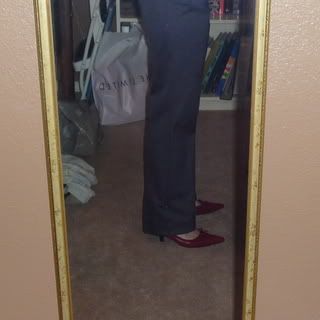
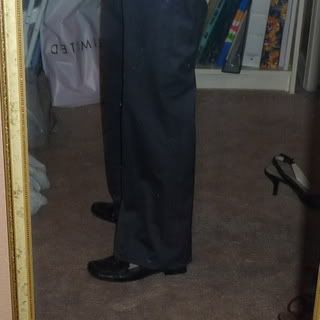
I also hate when you try to wear pants with backless shoes and the bottom catches between your shoe and heel, so I made sure they wouldn't do that.
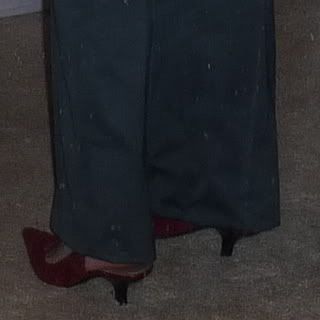
I wish I could also wear my boots with these, but I think hems need to be longer with boots, so it won't look good. They look bad from the front.
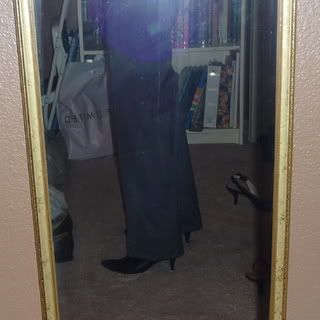
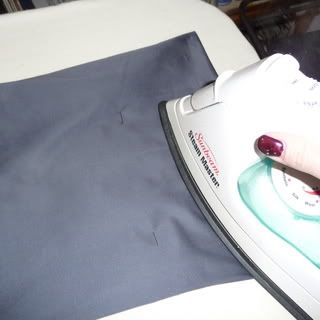
If you're satisfied with the length, go ahead and take them off again. Press the hem to crease it.
Next, you'll want to make a line to mark where you will cut off the excess fabric. My alterations book says that most commercial hems are about 1.5", to save fabric. A better length is 2.25-2.5 inches. My ruler is 2 inches wide, so I marked with chalk around. Then I added another quarter-inch. Really, I could have been lazy and stuck with the 2 inches and saved my self the trouble.
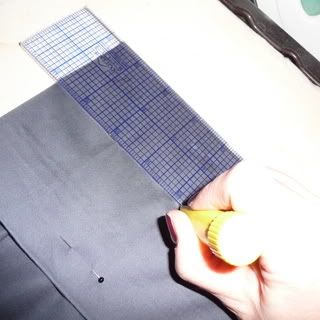
Next I cut along the line. I don't cut straight across both thicknesses. I cut in from the edge and cut around one layer at a time.
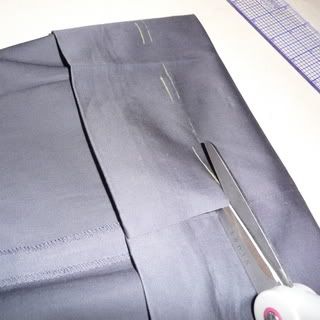
Now I need to finish the raw edge. I have a serger, and lucky me! it has black thread on it now. If you don't have a serger, never fear. You can use your sewing machine's overedge function or just a simple zigzag stitch to keep it from unraveling.
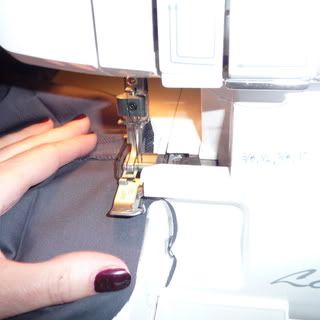
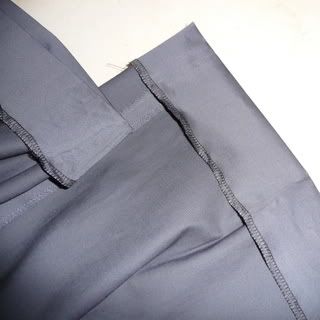
Now you've not a nice finished edge. You just need to secure it to the leg of the pants. This is where the blind stitch comes in. You want to use your blind stitch foot and stitch function.
First, you need to fold and pin. This part is a little weird at first, but it's not hard once you see what it is you're trying to do. You want to fold the cuff like so, turning the bottom of the pant underneath. DO NOT PRESS -- YOU DON'T WANT THIS TO BE A CREASE.
Keep in mind that you should line up the side seams and creases, so the leg doesn't sit funny.
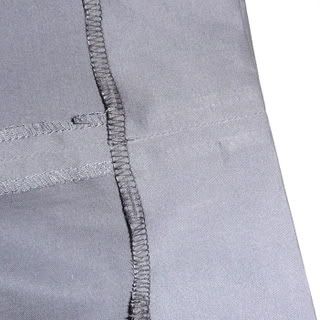
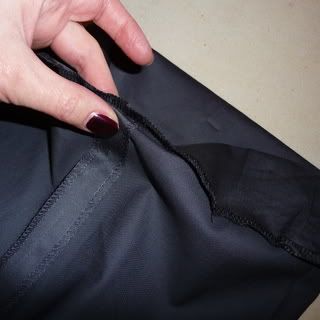
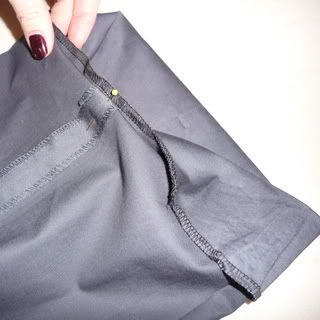
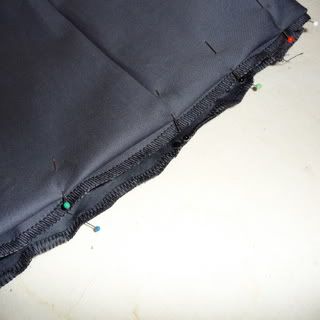
Choose a color of thread that matches the pants as closely as possible. I have gray and black here, but the black matches the gray pants a little better. Plus, the gray thread is quilting thread, which I bought accidentally. It's too thick.
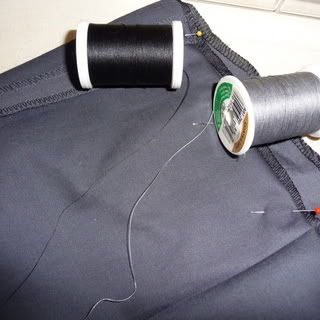
What the blind stitch is all about is barely tacking the bottom edge of the pant to the pant leg. You are going to be doing a zigzag stitch on the little edge where the serger stitches are, then every so many stitches, the needle will hop out and tack the pant leg fold. Your stitch function does all this for you; you just need to adjust the width and length of the stitches. Test it a bit by turning the crank with your hand and seeing if the needle enters where you want it to. You should do a practice run on scrap material.
I am pointing with the needle tip to where you want your small zigzag to be (turns out to be a bit hard to see, sorry).
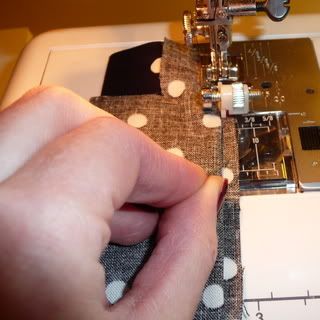
Here I am pointing to where you want it to hop over and tack the leg.
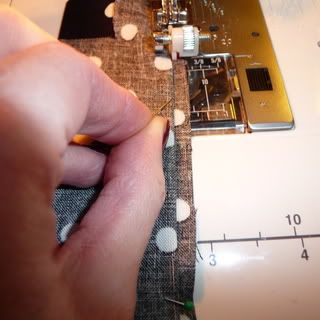
Go very slowly. Keep in mind that when I say "tack," I mean that you want it to barely hit the edge of this fold. If it goes in too far, it will show on the other side. For me, this is inevitable, so I don't fret too much.
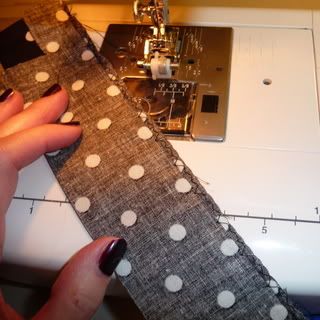
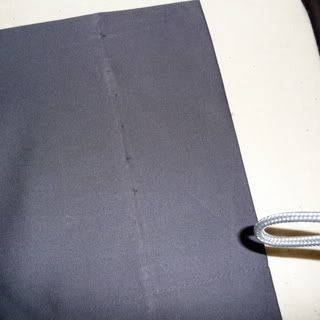
As you can see, some of my stitches are visible from the other side. Even on professionally done blind hems, a wee, tiny tack is visible. Mine are much worse, but oh well. A pin is pointing to one of the visible stitches. Again, you can't see it very well. If I were nice, I'd have used a different thread color, but I was in a hurry.
Now I'll do the real thing. GO VERY SLOWLY. You may want to remove the under part of your machine so the leg can fit around easily.
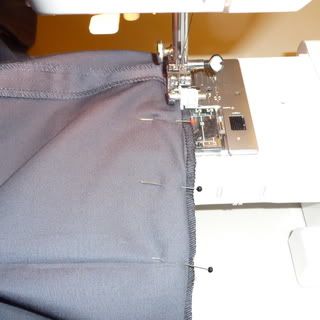
There! All done. Press your hem. Some of my stitches are visible, but unless you're my cat rubbing on my ankles, you probably would never notice, so if you can't get it perfect, who cares? At least your pants are the right length.

18 comments:
Great tutorial! Going to link to this!
Next time you hate hemming your pants consider having no where to go which is what happens when you are too tall and your pants are always just barely long enough. If I'm lucky enough to find them long enough and they shrink a bit I have nerdy looking floods and there's nothing I can do about it. :0(
The detail you put into your blog is awesome. nice work.
Kimm,
I can imagine that would be harder! I think it would be nice if they could do all pants in short, medium, tall or something, kind of how men's pants are always by inseam length. Then we could all be happy!
This is the best, most detailed tutorial I have found on a blind hem. Thank you!
After much searching and frustration, your tutorial helped me to *finally* hem my husband's uniform pants. Thanks for such a great and easy to follow tutorial!
Thank you so much for the pictures, I finally hemmed my friend's pants yesterday and she is happy with the result. Michelle
Even though I am a fairly experienced "sewmama," I found your tutorial very helpful! Great work! I will look to see if you have more!
I have used this method for at least 40 years, and it's terrific. I do have a question though: like you, I make my hems longer in the back. As you know, that causes a "gap" to form in the center front (where the crease is or would be). I am curious as to how you handle this. After all these years, it's still a bit frustrating to me and I always wonder if I am doing it correctly. I actually start on one side of the center front and blind-hem to the other side of the center front. There is then a space with no stitches for say, 1/2", but it doesn't show when pants are turned right-side out. Is this what you do?
Glenda,
It's actually been so long since I've hemmed pants (I'm a new mom and I guess I haven't bothered with stuff like this since well before I got pregnant!), so I don't recall if I had this problem or how I handled it. I'll be interested in seeing if I do next time I try this. Sorry I'm not much help!
Robyn
Thank you for the detail and the pictures! especially the pictures. I just did my first "successful" blind hem by using your instructions. I thank you, and so does my husband!
Thanks a lot it is a fantastic guide, now to hem a pair of pants -- blind hem tutorial is without a doubt simple with the help of your recommendation. Kudos
Thank you so much for this tutorial, as one someone with a 36" inside leg I'd never had to turn up anything, but recently I bought a pair of trousers that were still too long. I have just finished blind hemming them and they look great. Thanks again for such a detailed tutorial.
Sally x
From one atheist seamstress to another, thank you for this posting! I always wondered how this was done. I don't know if I have a blind hem foot but maybe it will be worth the investment rather than getting these hemmed at my local tailor, which by the way is in noisy NYC. :]
Thanks for the descriptive instructions and the pictures every step of the way. It was very helpful, especially since it was my first time. Being that I have it sewed in years, my sewing machine was new, and I've never sewn a blind stitch - I did alright. I did mess up just a bit where I caught too much of the material with the blind stitch, but thankfully it's not really noticeable.
Thanks again!
Thanks for the tutorial. Very helpful info. Just as an aside, I was examining my husband's tuxedo pants, and they aren't even finished on the raw edge- just pinked. Since I don't have a serger, I would consider doing that depending on the fabric of the pants (since the zig-zag way often comes out so sloppy on my sewing machine!)
Thanks, couldnt work out this stitch at all from my sewing machine manual. Quite simple once it's described (and photographed) so clearly. Kudos to you :)
Thank you so much for a lot of great tips. I am one guy that needed all the help I could get having my twin brother being my critic
Thank you for this. I could never figure out the fold for this technique before.
Post a Comment