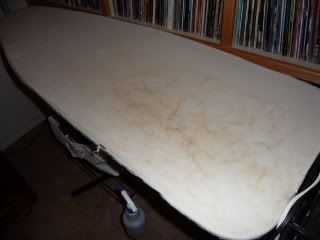
Ugh! It's pretty much ruined all my tutorials, hanging out in the background all nasty-like.
I decided to make my own, and heck if it's not the easiest thing I have ever done. Ever. I found a tutorial here.
OK, watch how simple this is: Buy a piece of fabric -- must be 100% cotton, no synthetics, due to the heat of the iron. I bought 2 yards, but I had a bit left over as you'll see in the picture.
Take off your old cover and pull the string out. Save the string and the little plastic string tie thing, if it has one.
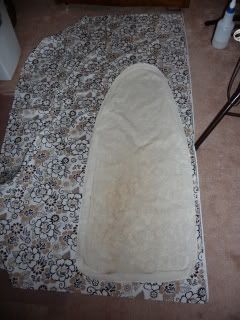
Smooth out the old cover on top of the new one. Cut, leaving a seam allowance of your choice.


Remove cat before proceeding. (I swear, I thought she was going to pee on there. She's on antibiotics now, but she had a bit of a bladder infection and was peeing in naughty places. She was especially fond of fabric. She must be feeling better because she just sat on it and kept her wee-wee to herself.)
Finish the edge. I serged mine, but if you don't have a serger, just zig-zag on your sewing machine.

Now just fold over and sew a little casing for the string. None of this has to look pretty. It will be hidden on the underside of the ironing board.

Now, run the string through the casing. Have you ever used one of these bodkins instead of a safety pin? They are awesome, and practically free.

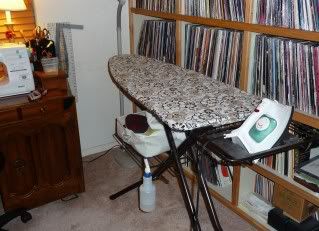
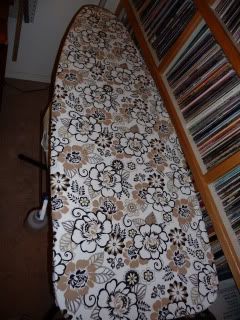
Put your new cover on the board and pull in the strings. Look how much better!


4 comments:
good heavens, how easy - I made one for the lounge, and had the not-so-brilliant idea to take off the old one AND re-use the bias tape that covered it. It looks horrible on the sides, 'cause I just couldn't replace it the way it was. Thanks for the too easy tutorial!
you did a great job --- looks fabulous !
Glad to hear Roady is OK.
:-)
I need to do mine!!
Post a Comment