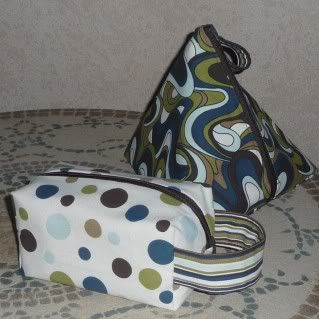
I made some cute knitting bags, and if you make it through this whole post, there's information on how to do it.
There's a particular forum post I have been drawn to a few times over the past year. I guess this is a part II, actually (link
here if you're on Ravelry).
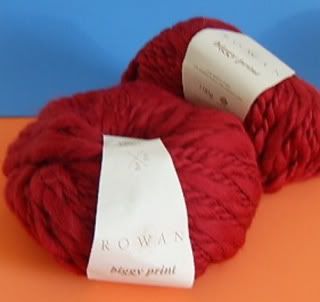
It's a way for people to get rid of yarn they no longer want (perhaps you had an extra skein leftover after a project and never want to see that yarn again) and get a little package of goodies in return. You work out a direct exchange. It's fun!
I'm going to get some of this thick/thin merino wool
In exchange, I offered to make the other woman a sock knitting bag, meaning a small bag for sock projects. I have lots of fabric and I loves me some bags!
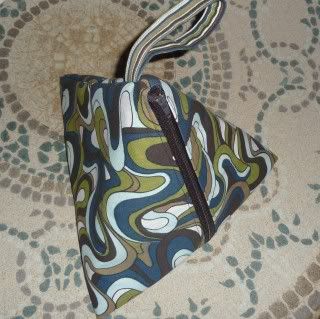
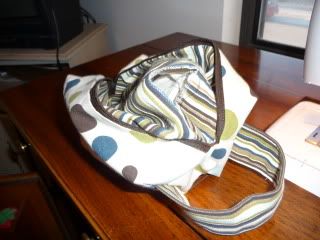
The pyramid bag is pretty cool, but a bit big for a sock project bag. I got the tutorial from
Nicole Mallalieu, who makes
great bags. I just increased the size of my pattern pieces to 11" x 22", but maybe should have gone a little smaller.

The square bag came from two tutorials, mainly this one on
Drago[knit]fly, but I also borrowed some modifications from this one on
20 Acres and No Sheep. Mainly, the modification was the cut out corners, which I think are easier to work with than the first tutorial's way.
The thing is, all the box bag tutorials I found end up sewing the outer fabric and lining as one piece, and therefore have raw seams inside. I can't allow raw seams, so I had to modify the bag. I'm going to do a really rough tutorial on how to make a box bag
without raw seams. It might help to check out the original tutorials above for more detail, and then apply my changes.
And, this will probably be hard for me to explain. As always, I welcome emails if you have any questions. My email link is up there on the top right of my blog.
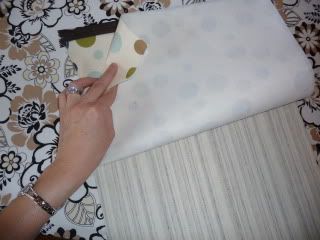
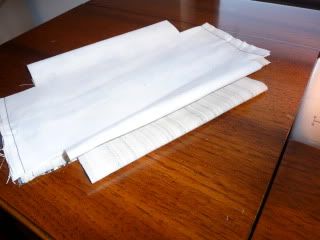
Cut one piece of outer fabric, one piece of lining fabric and one piece of interfacing (I use Craft Fuse) 16"x12". Fuse the interfacing to the wrong side of the outer bag piece. I used a 1/2" seam allowance all the way through, except on the zipper. There I just sewed as close as I could.
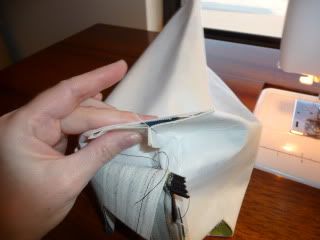
Next, place a 12" zipper along one of the short sides of the outer fabric, right sides together (zipper pull is facing the fabric). Sew. I am lazy and just use a regular zigzag presser foot, with the needle to the left.
I recommend you start and stop half an inch from each end. You'll see why later.
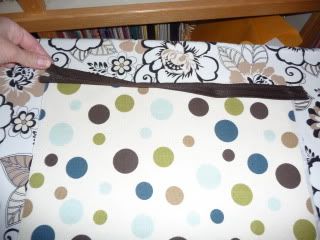
Next, take the lining piece and place it on the other side of the zipper, so the right sides of the fabrics are together and the zipper is sandwiched between them. Sew as you did above.
Open it up and turn it so wrong sides of fabric are together, and press away from zipper.
Top stitch next to zipper (I forgot to do this).
Here, it gets momentarily weird. OK, it gets even weirder later. But stay with me.
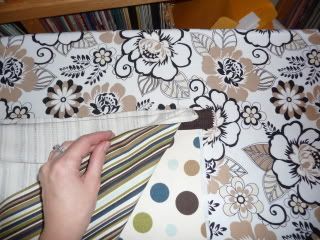
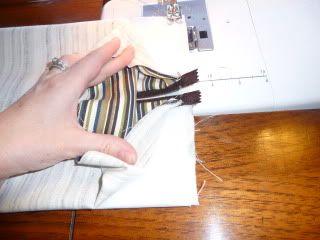
Fold your right sides of each fabric piece to the opposite sides of the zipper and pin. They should meet the way they did with the other side of the zipper, but now you've got this funky thing going on:
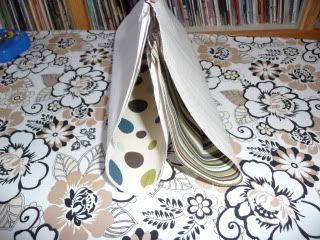
Sew along zipper, then turn right side out. Your two side edges are still open.
Press this side and top stitch, as before. Only it will be sort of hard. You can do it; just open the zipper and move the fabric out of the way. (Again, I forgot this step.)
Here's where you'll be glad you stopped a little before the end when sewing the zipper. I didn't, and I had to rip a few stitches out to make this work. OK, turn your bag inside out again and separate your lining from the outer bag.
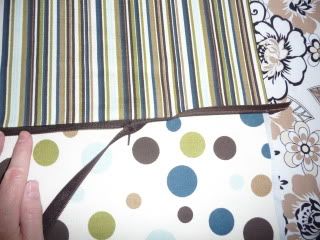
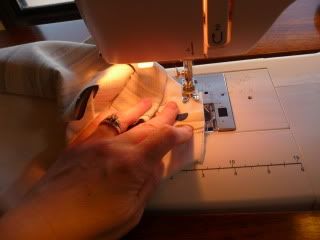
Grab your outer piece and line it up so that the zipper is in the center. Move the lining out of the way as best you can and sew all the way from end to end. Do the same on the other end. I think that it was around this point that I just went ahead and opened the zipper up. Later, you'll be very glad you did.
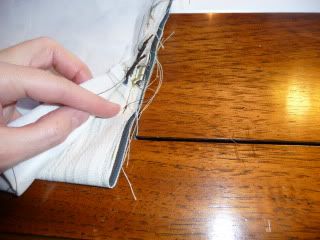
Next, grab the lining in the same manner. On the side with the zipper pull, sew all the way across.
On the other side, without the zipper pull, sew most of the way across, but leave maybe 2 or 2.5 inches for a turning hole, as shown. I am going to call this "Corner A" below.
Next, we're going to cut squares out of the corners. This is going to help us make the boxy shape. I cut 1.5 inch squares out of each corner, but I started measuring at the seam, not the raw edge. Draw the lines right on there with a pencil or fabric pen.
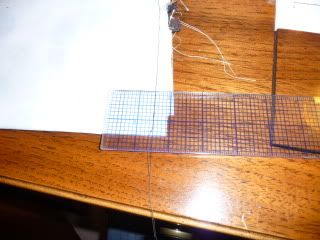
Cut all of your corners out. I'm not really worried that I'm cutting across a seam because I'm going to sew back over it in just a second.
Now, for the side of the outer piece WITHOUT the zipper pull, pinch the open square so that the seam is now in the center, like so:
And sew.
Do the same on the other side, only you need to insert the strap here.
What? I never mentioned the strap before. Oops. You can get an explanation on the other blog, but basically you'll cut a piece of fabric 10"x8". Fold in half, right sides together. Then turn right-side out and press. Fold in half again lengthwise and sew open end and top stitch folded end.
Now you've got your strap, so you want to insert it into the bag so that the ends of the strap are poking out of the cut-out corners of your outer piece, on the zipper end side. Then pinch the corners and sew as you did on the other end, but this time you'll have the strap sandwiched in there, too.

Now do the same all of the lining corners EXCEPT the corner with where you stopped sewing early (Corner A, remember him?). This will be your turning hole.
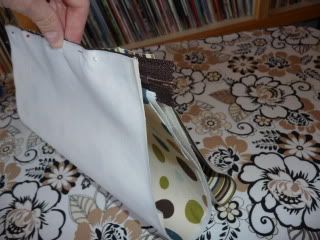
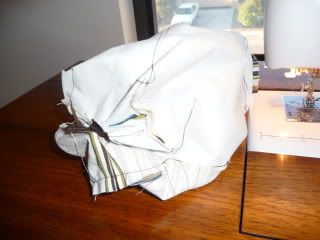
Your bag should look like a hot mess.
BUT ... turn it through that little hole so that it's right-side out. Go slow, so you don't tear the seam any farther. When it's turned around, stick your fingers through the hole and poke out all the corners in the outer bag.
If it all looks good, pull that open corner of the lining back out and pinch it together and sew from the outside.
Sure, it's not perfect, but I prefer one slightly icky seam to a bunch of raw edges, myself. If you're that picky, just slip stitch it by hand for an invisible look.
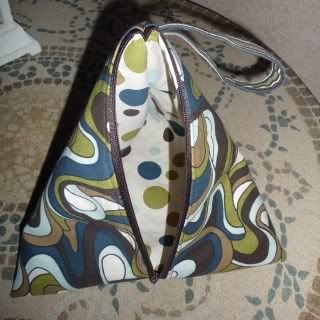
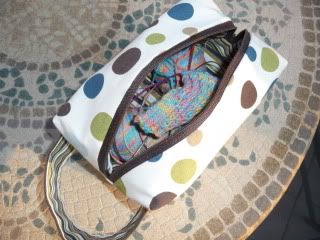
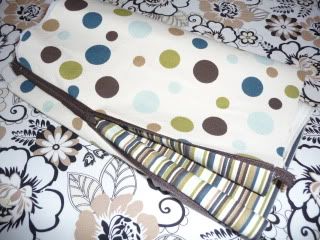
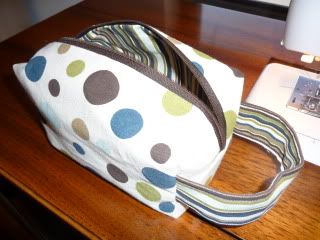
Press and steam a bit, and you'll have this!
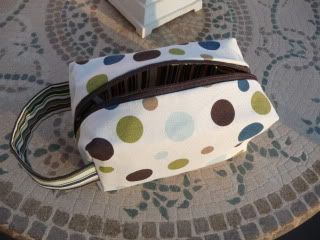
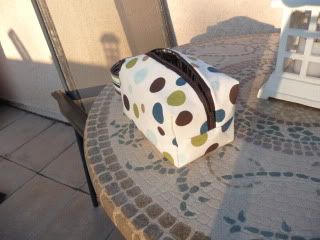
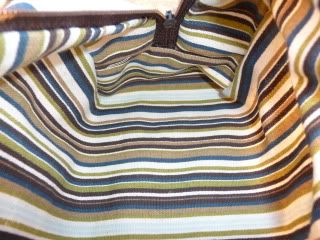
And a nicely finished interior!
Yippee! Now got start knitting some socks. Carry them around. Go in public. Look all cute.