Monday, September 29, 2008

Stingy bag

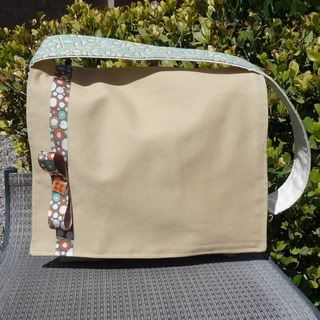
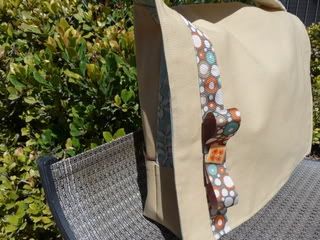
Since I'm closing up my shop, I now get to sew for me, just for fun. I like fun fabrics, but then I sometimes find when I wear clothes with a print, none of my bags match. I decided to use solid fabric, with hints of the fun fabric. I have a big ol' stash of fabric, so I just pulled all these from there and made this little messenger bag.

handbags, totes

I had this ribbon and button for a long time, but never knew what to do with either of them.

handbags, totes

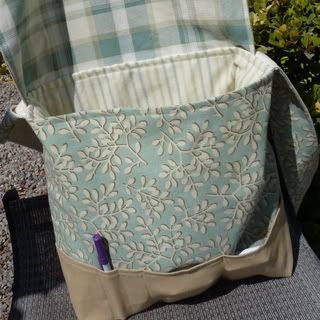
This is the inside of the bag. Under the front flap are pockets for easy access to my phone and pens. I used a variety of fabrics that sorta coordinate. There are pockets inside, too, but I don't think I have that much stuff that needs pockets.

handbags, totes

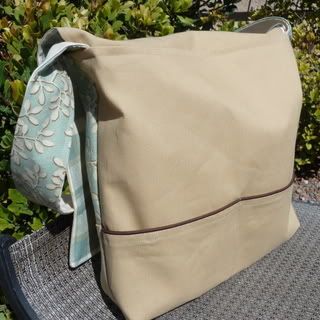
The back of the bag has exterior pockets with piping. Next time, I'd make the pockets deeper and eliminate the divider, so I could put papers and such in there. I didn't have enough piping for the front pocket.
handbags, totes

This was my first attempt at a messenger bag, and I learned that next time I need to make the flap at least an inch narrower so it fits between the straps better.

--------------------------------------

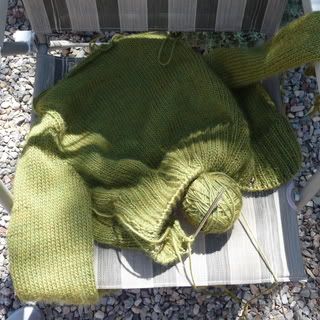
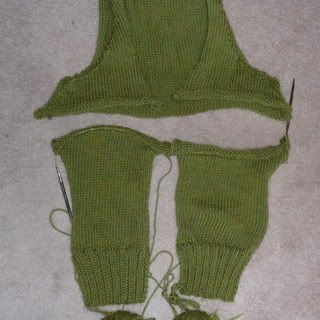
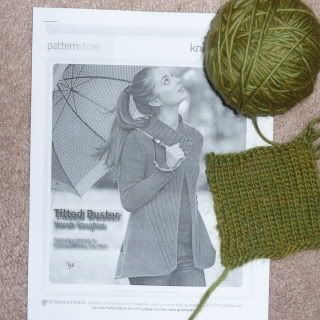
My Tilted Duster is coming along. Still doesn't look like much, and I have a ways to go:

knitting projects

Easy DIY pillow sham tutorial

Click here for a pdf version of this tutorial

I wanted some new pillow shams for my bed, now that we've painted our room and bought new furniture. The old black ones just looked out of place. I found some fabric I like and decided to just wing it. It's very easy, actually!

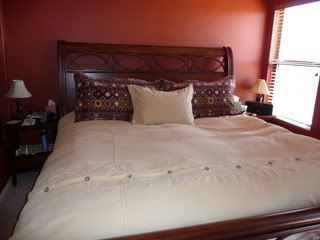
Here is what I ended up with:
pillow shams

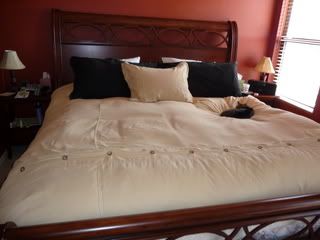
Here's what the bed looked like before. I am modeling my new shams on these old ones. I didn't want a ruffle, just a straight edge.
pillow shams

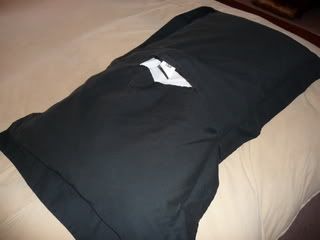
This is for the kind of shams that just have an overlapping back that you insert the pillow through, like this:
pillow shams

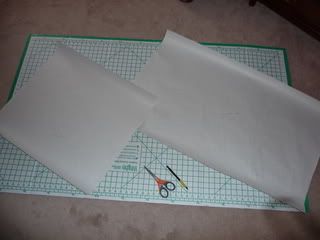
The first step is to make some pattern pieces, which consist of just a square and a rectangle. I made king sized shams, so these measurements are for those. Since I already had some shams in that size, I simply took the pillow out, smoothed it flat and measured it. Then I added half-inch seam allowances.

So, get some big paper -- I use unprinted news rolls. I work at a newspaper, and these are the ends of the giant rolls used on the presses. They give them away free, and there is actually quite a bit of paper on it. Check with your local newspaper. I got my 2x18 inch clear grid ruler (this is my No. 1 favorite sewing-related tool) and my square. I created a rectangle 40"x24.5" for the front of my sham. I created a near-square 26"x24.5" for the backs of my shams. Now, in hindsight I realized I made my back pieces overlap too much, making it hard to get my pillows in. I recommend using one piece the size above for the top back piece and another that's a bit smaller for the piece it overlaps, maybe 22"x24.5".
pillow shams

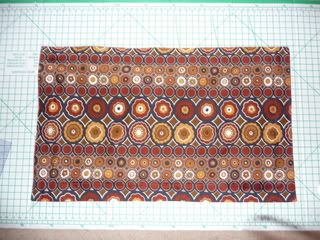
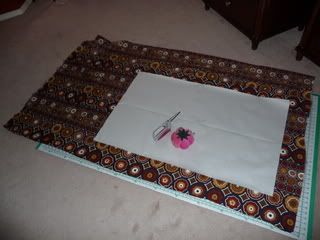
Cut out your fabric. You'll need two front pieces. NOTE: If your fabric has a pattern, think carefully about how you want it centered on your sham, and also try to make both shams the same. You may need to buy extra fabric.:
pillow shams

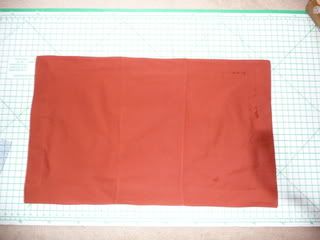
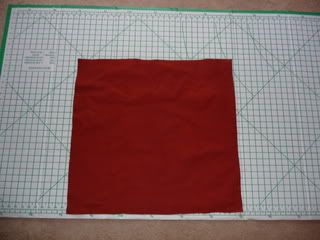
You'll need 4 back pieces to make two shams. Like I said, I used equal-sized almost-squares but recommend you make one square smaller on each pillow:
pillow shams

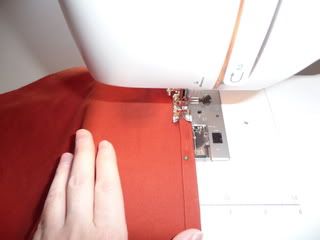
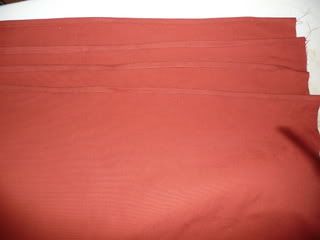
Hem one side edge of each back piece. This will be at the opening of the back of the pillow sham:
pillow shams

pillow shams

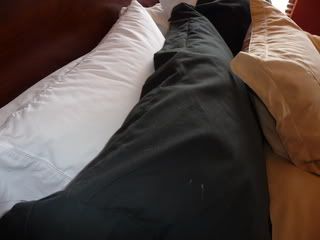
OK - side note. See how my old pillow shams had floppy edges?
pillow shams

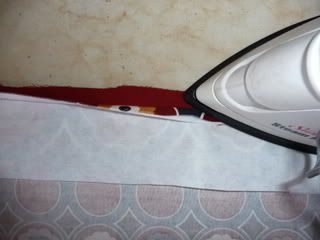
I don't like that. So I interfaced the outside edge of my front pieces. I just used scraps I had laying around, so it's a hodge-podge of little pieces. I used iron-on craft-weight interfacing so it would be nice and stiff.
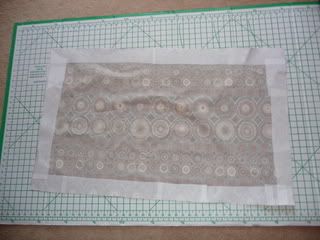
pillow shams

This helped the edges stand up like this:
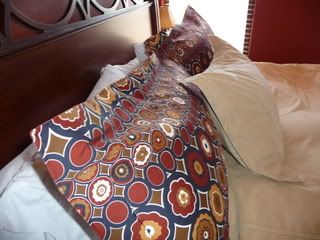
pillow shams

Place the front piece right side up. Then take your larger back piece and put the right side against the right side of the front piece. Pin around edge.
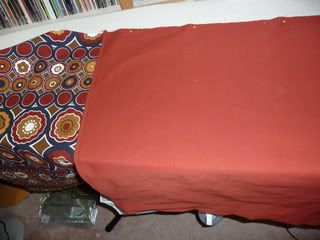
pillow shams

Now take your smaller back piece and do the same thing, overlapping the other piece.
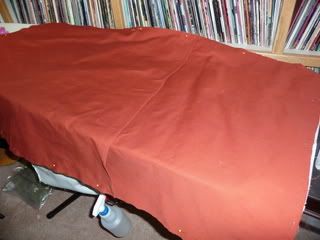
pillow shams

Now sew around the entire outside, with a half-inch seam allowance. TIP: I have found that when sewing one interfaced piece to a non-interfaced piece, it works much better to sew with the interfacing up. When the interfacing is down and the non-interfaced piece is on top, it often feeds unevenly and bunches the top piece up.

Now trim the corners so they will be nice and pointy when you turn the piece right-side out.
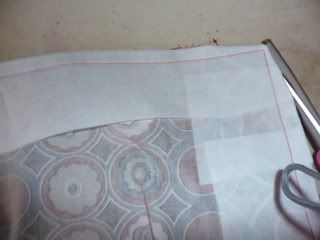
pillow shams

Then press open your seams.

pillow shams

Turn your sham right-side out through the slit opening on the back. Smooth the edges and press.
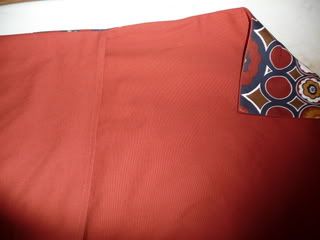
pillow shams

Top stitch along the outside edge of the sham, all the way around.
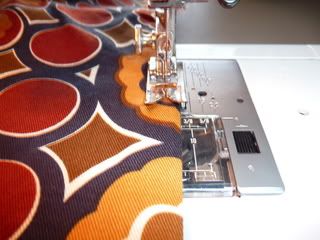
pillow shams

Now you have this!
Front:
pillow shams

Back:
pillow shams

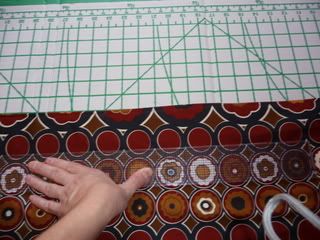
The next step is to make your little edge, or border. The right word for this is not coming to me, if there is one. I want to have a 2.5" border all the way around. All I'm going to do is sew a line all the way around 2.5" from the edge. Simple!

But first, I have to measure all the way around. First, I'm marking 2.5" down in intervals around the edge, and then I'm using the ruler to connect these intervals and draw a line all the way around using a marking pencil.
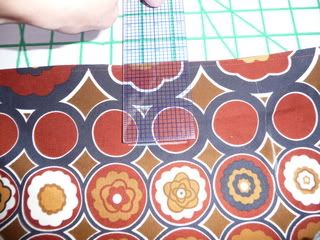
pillow shams
pillow shams

Now sew along this line. Insert your pillow, and you're done! I prewashed and cut the fabric the day before. Total sewing time took me about 2 hours.

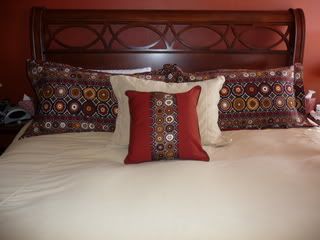
I also made a throw pillow to match. I'm not sure I like it with the tan pillow behind it, but it will do:
pillow shams

Sunday, September 21, 2008

It's NFL Sunday, silly

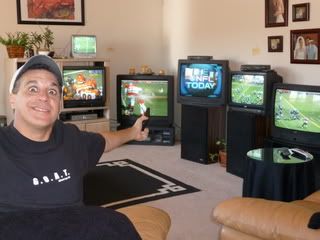
Football day is a big deal in our household. It requires temporarily rearranging furniture and bringing every TV in our home together. And the DirecTV NFL package, of course.

football

I also had to stand there until none of the TVs had a commercial on them. I am a patient wife. And he is a happy husband.

Saturday, September 20, 2008

The good, the bad, and the good

Lots of little things:
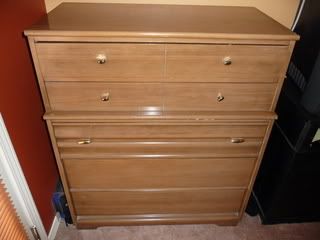
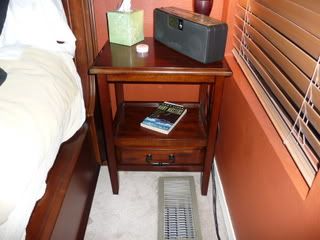
GOOD: I found some night stands that fit AND match nearly perfectly! Yay!

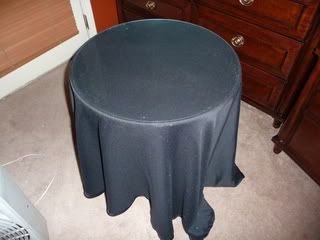
Old, miserable excuses for a night stand:

furniture

New. Look! A little shelf for my book!:

furniture

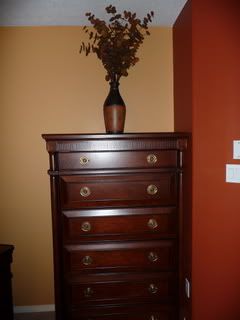
I found them at Pier One, and Mark told me to go ahead and buy some decorations for the house, which is just the kind of thing any wife likes to hear when she's trying to watch her spending. I got a few beautiful vases with eucalyptus in different colors that go perfectly with their vases.

furniture

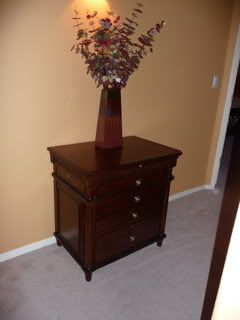
Giganto night stand #2 has taken up residence in the hall, where we are pretending like it just belongs there and we did it on purpose.
furniture

GOOD: We Craig's-Listed and got rid of several items that were clogging up our garage: a queen sized bed, a big, furry, 1970s chair, and an old bike.
furniture

bike

BAD: Our washing machine broke. No diagnosis yet.

GOOD: Saw Toby Keith in concert, and it was really fun. I was introduced to the music of Montgomery Gentry and liked it. For a few hours, I kinda saw the appeal of being a redneck.

GOOD: Mark bought a new LCD TV that we don't need, which leads to ...

BAD: We have so many damn TVs, and it may be a battle to make him get rid of some. There is no place to keep them all. I know he'll keep the big, old one through football season, when he brings all TVs into the den and watches many games at once.

BAD: Mark's transmission is going out, but since he's been in the market for a new car for two years now, I guess it's just the kick in the ass he needs.

GOOD: I marked items in my shop down to their final markdown, about 50% off. I have sold 5 items in one day. I have 15 items left to sell, so stop in now -- shop closes Oct. 15 whether it's sold out or not. GO HERE NOW!

Wednesday, September 17, 2008

Look at my fancy new stuff

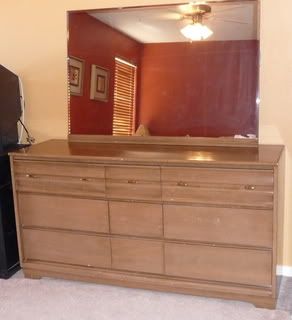
We got new bedroom furniture. We were replacing this old stuff that belonged to Mark's parents when they got married:
Photobucket
Photobucket
Photobucket

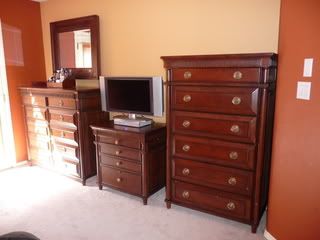
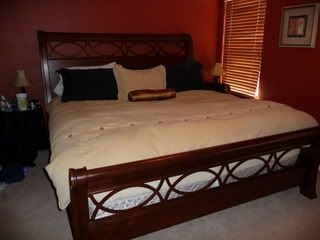
It now looks like this:
Dressers
bed

(I'm trying to figure out what to do about the ugly part showing through at the end of the bed.)

The disappointing part: This set includes the two largest nightstands ever created by mankind, and they do not fit in our room. They are really cool nightstands:

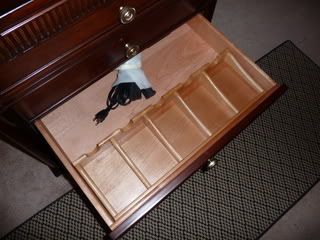
They feature a drawer with built in charger plugs for your phone and such:

Nightstand

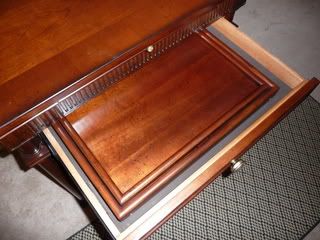
They come with a bed tray that props up or lays flat, and folds and fits neatly in a drawer:

Nightstand

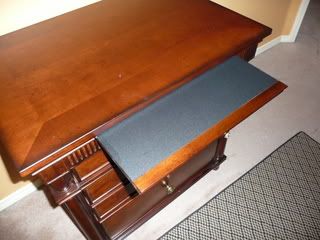
They have a pull out tray:

Nightstand

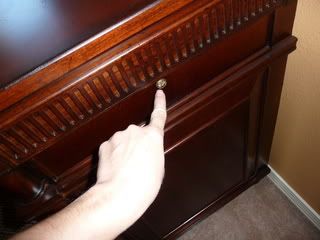
They have other drawers, too. And then they have these little brass decorations that when touched turn on a nightlight underneath the nightstand.

nightstand

We had to use one nightstand as the TV stand, shown above. The other one has to find a home. As for what we use as nightstands, I'm trying to figure out something smaller, yet nice looking.

On to other things:

My "Tilted Duster" sweater is coming along, though it doesn't look like much right now:

knitting projects

knitting projects

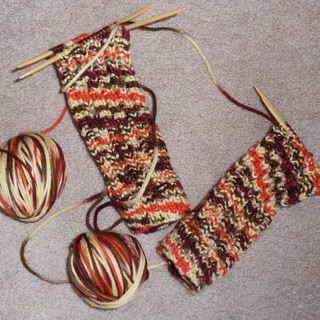
And my October socks are moving a bit slowly, but I'm almost to the heels:

socks, knitting projects, knitting

We've painted most of the kitchen. We have a couple of walls in the den to do, and then we will have to let a pro finish the rest of the house with the high ceilings. I can nearly see the end of the painting for me! I'll post kitchen pictures when it's complete.

Tomorrow, I am going to go see a Toby Keith concert. I know, COUNTRY. But Toby Keith is A-OK, in my book.

That's about it for me right now.

Sunday, September 7, 2008

A-Line Jacket

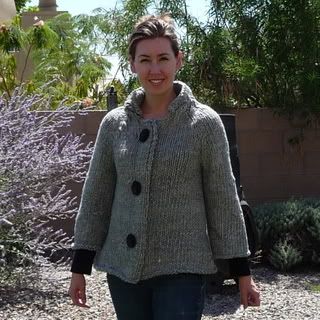
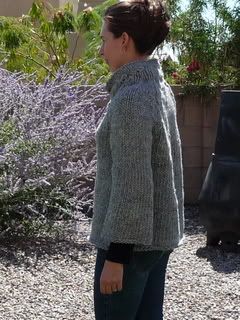
I posted a while back that I finished my A-Line Jacket from "Runway Knits." But the picture I had Mark take was at night, blurry, with no flash.

Here are some better pictures. It's a bulky wool jacket, and even though it's still summer, it was not enough to keep me warm in the office today. At least, if we were milk, we'd stay really fresh.

knitting projects, sweater, a-line sweater

knitting projects, sweater, a-line sweater

Friday, September 5, 2008

Mmmm...doughnuts

You know what I want? A doughnut. And I don't think there is a single place even remotely near my house where I can get a damn doughnut. Grocery store doughnuts do not count as they are cheap on the icing and an icingless doughnut is not worth the time spent chewing.

doughnut

I would be happy with even a Dunkin' Donut, but I would KILL, yes KILL, for a chocolate iced doughnut from Winchells, which no longer exists where I live. I actually have dreams about Winchells doughnuts.

Thursday, September 4, 2008

Let's catch up

I have been a busy, busy person lately. Random things:


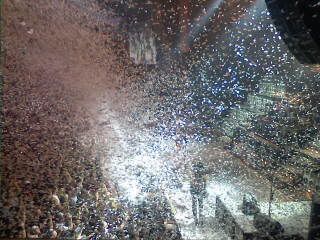
1. Went to Vegas and saw Kiss. It was a-w-e-s-o-m-e. Kiss puts on an amazing show. I forgot my camera, so these are cell phone pictures. Mark got to interview Paul Stanley and all the Kiss members (two original) signed a cardboard Kiss poster he bought 30 years ago. When they got to "Rock & Roll All Night," about a billion pieces of confetti were released, creating a total white-out.

KISS concert
KISS concert

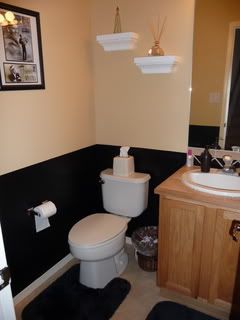
2. Been painting some more. I'm really sick of it. Here is the downstairs bathroom, which is much cooler in real life. I'm in the process of spray painting those shelves black, but naturally I ran out of spray paint halfway through:

home repair

3. Everything in my shop is still on sale as I try to go out of business. It's all marked down to 25% off -- handbags, totes and more.
Burst of Happiness

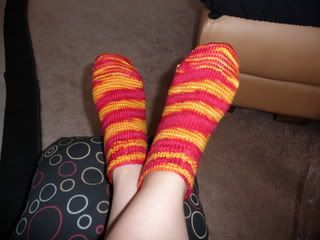
4. Finished these socks, but they suck. They are too wide and too short. There are just many things wrong with them, but I can wear them around the house. I call them Feets Afire

socks, knitting projects, knitting

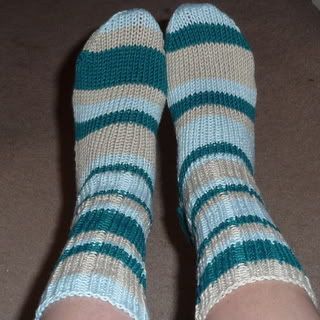
5. I'm done with these bamboo/merino socks. They have some problems because they were the first project where I've striped with different yarns. But they look good from this angle:

socks, knitting projects, knitting

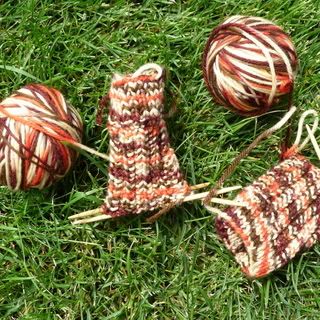
6. I've started these "Thanksgiving socks," as Mark refers to them. The pattern is "Campfire Socks" available free if you click that link:

socks, knitting projects, knitting

7. Getting ready to start two sweaters:
Tilted Duster in an apple green:

knitting projects

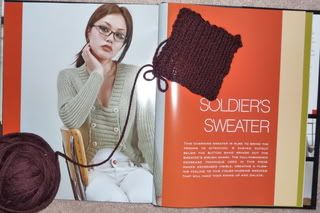
"Soldier's Sweater" from "Runway Knits" in a burgundy/brown color:

knitting projects

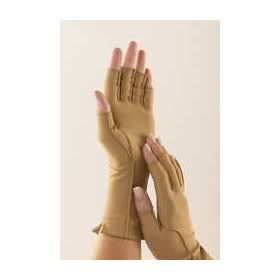
8. All this painting and knitting has my hands hurting, big time. I've taken two days off of knitting and painting and I'm feeling better. I also heard taking vitamin B6 is helpful, so I'm doing that, and I ordered these nerdy therapeutic gloves for use while knitting:

Isotoner